iOS
Setting up your developer environment
Prerequisites
On a Mac you will need to have the latest version of macOS and Xcode installed.
Install the SDK
First it is very important to install the correct dotnet SDK. At the time of writing, the lowest sdk version that works is 6.0.200.
Install the workload
dotnet workload install ios
You may need to run the command with sudo
You may also need to uninstall old versions. dotnet workload remove ios
This will allow you to build applications for iOS on any platform. However you will only be able to test and run them if you have access to actual macOS hardware with Xcode installed.
Running your app on an iOS device
In order to allow dotnet to sideload your application to your iphone or ipad you must first use Xcode to provision your device.
Before continuing follow this guide to create a free Apple developer signing certificate.
This has to be done by creating an Xcode app project that has the same bundle identifier that you will use in your application.
- Open Xcode
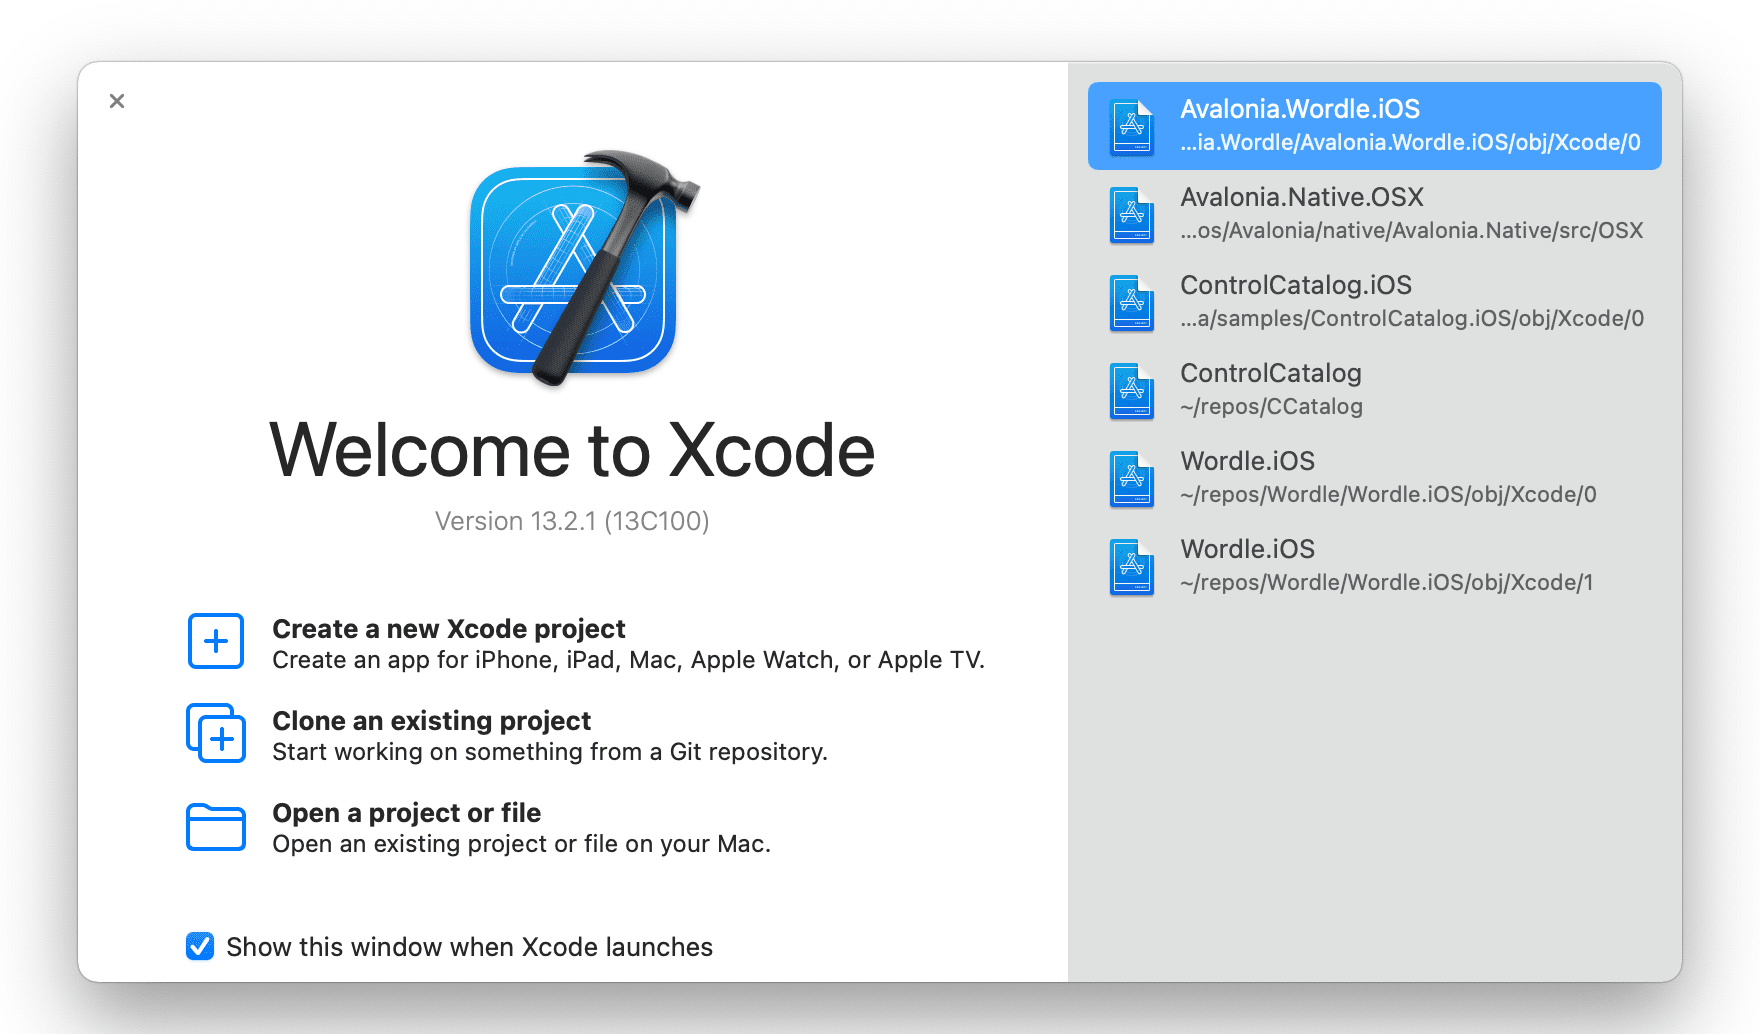
- Select Create a new Xcode project
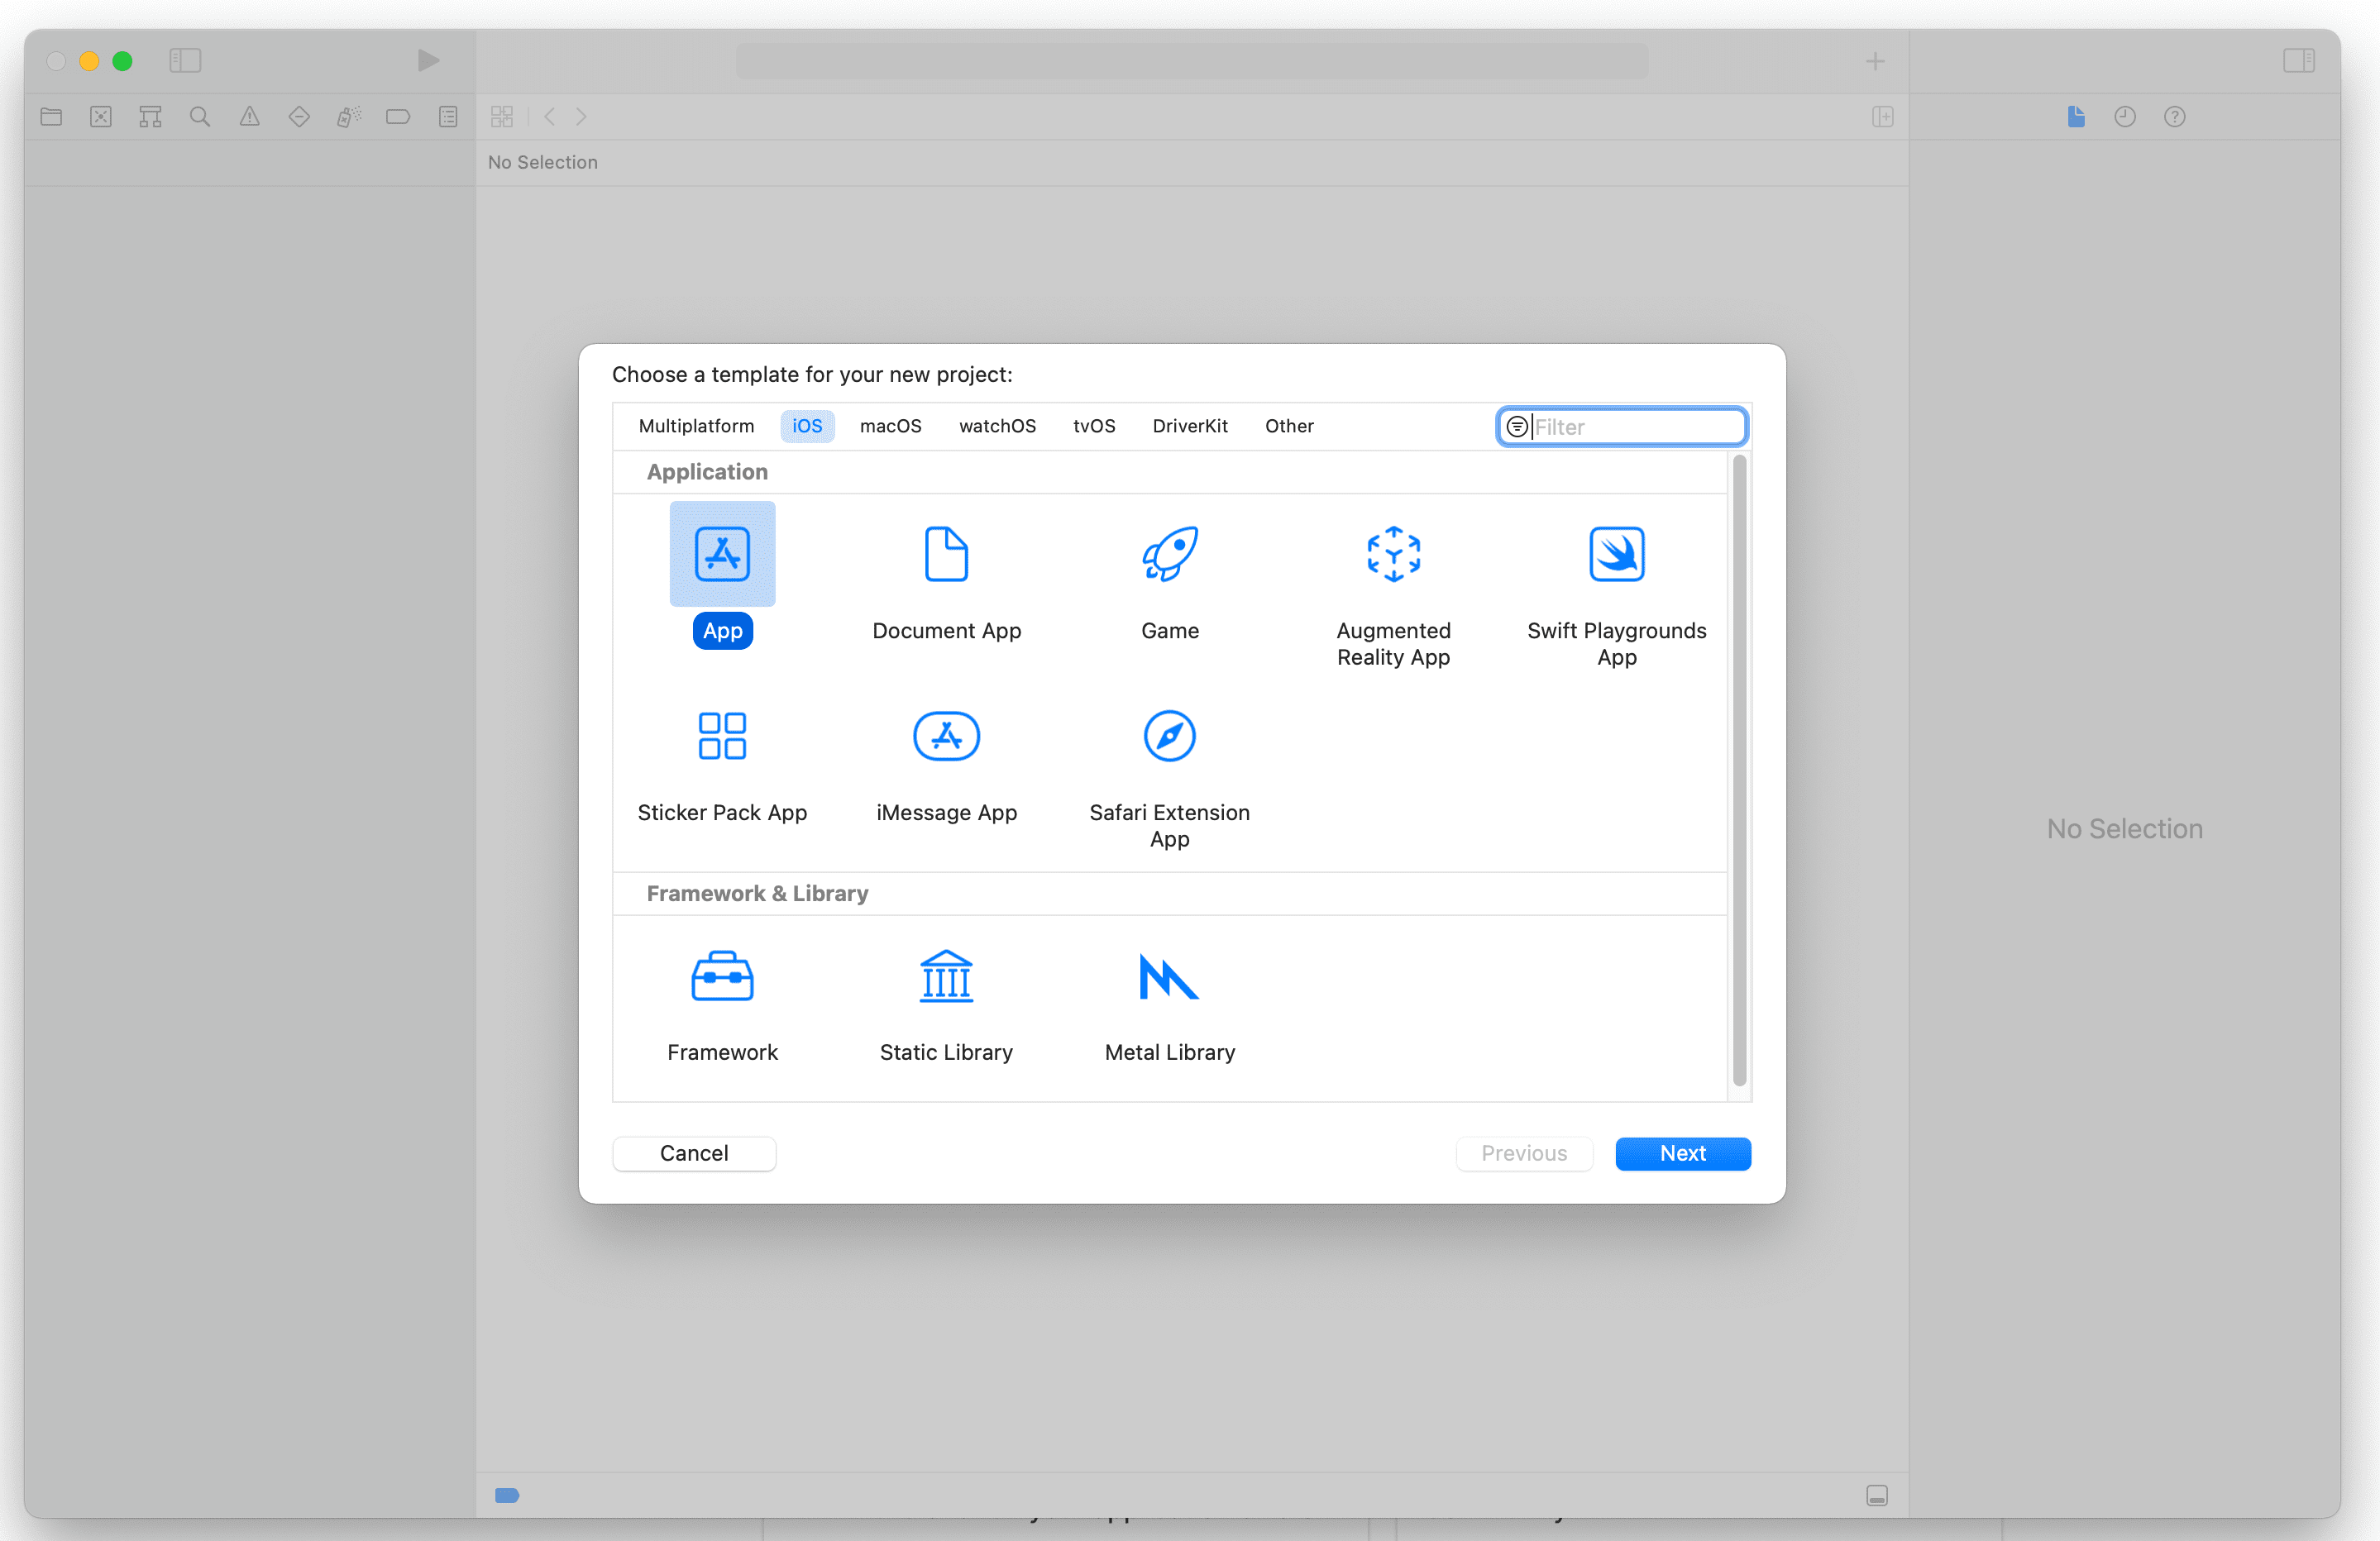
- Select iOS and App and click Next.
-
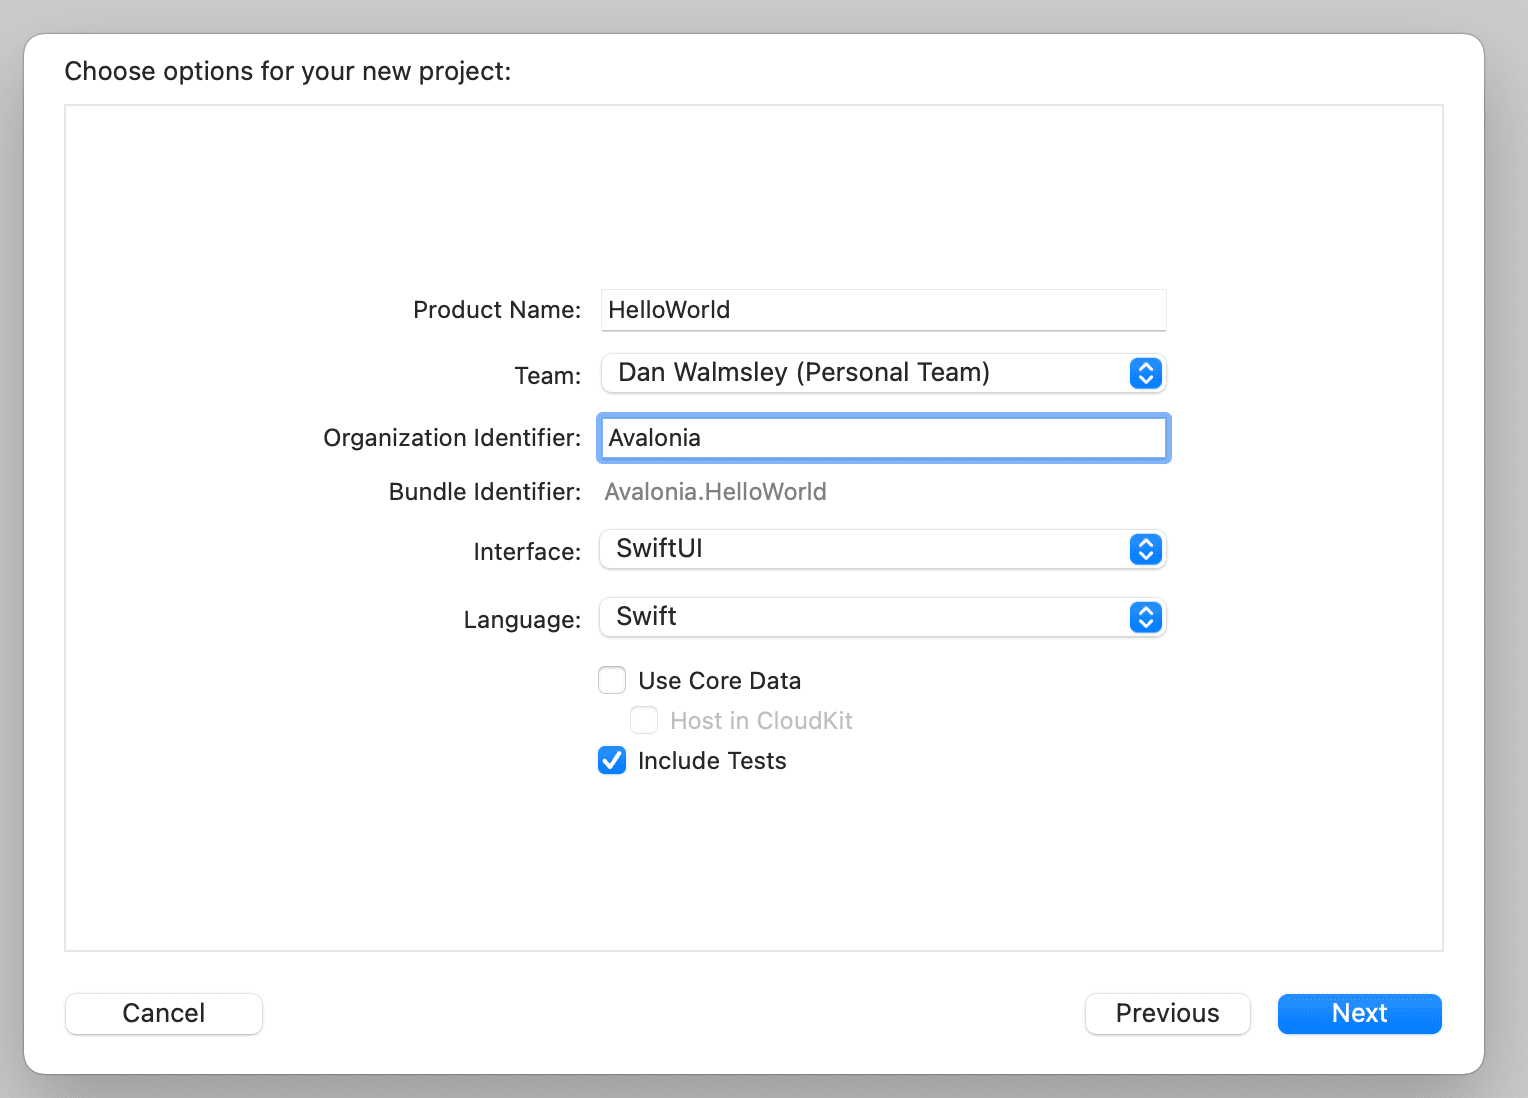
Type in a name for your project and Organisation. Keep all the rest of the information the same.
-
Choose a directory to save the project. You will not need to keep the project so don't worry too much about where.
-
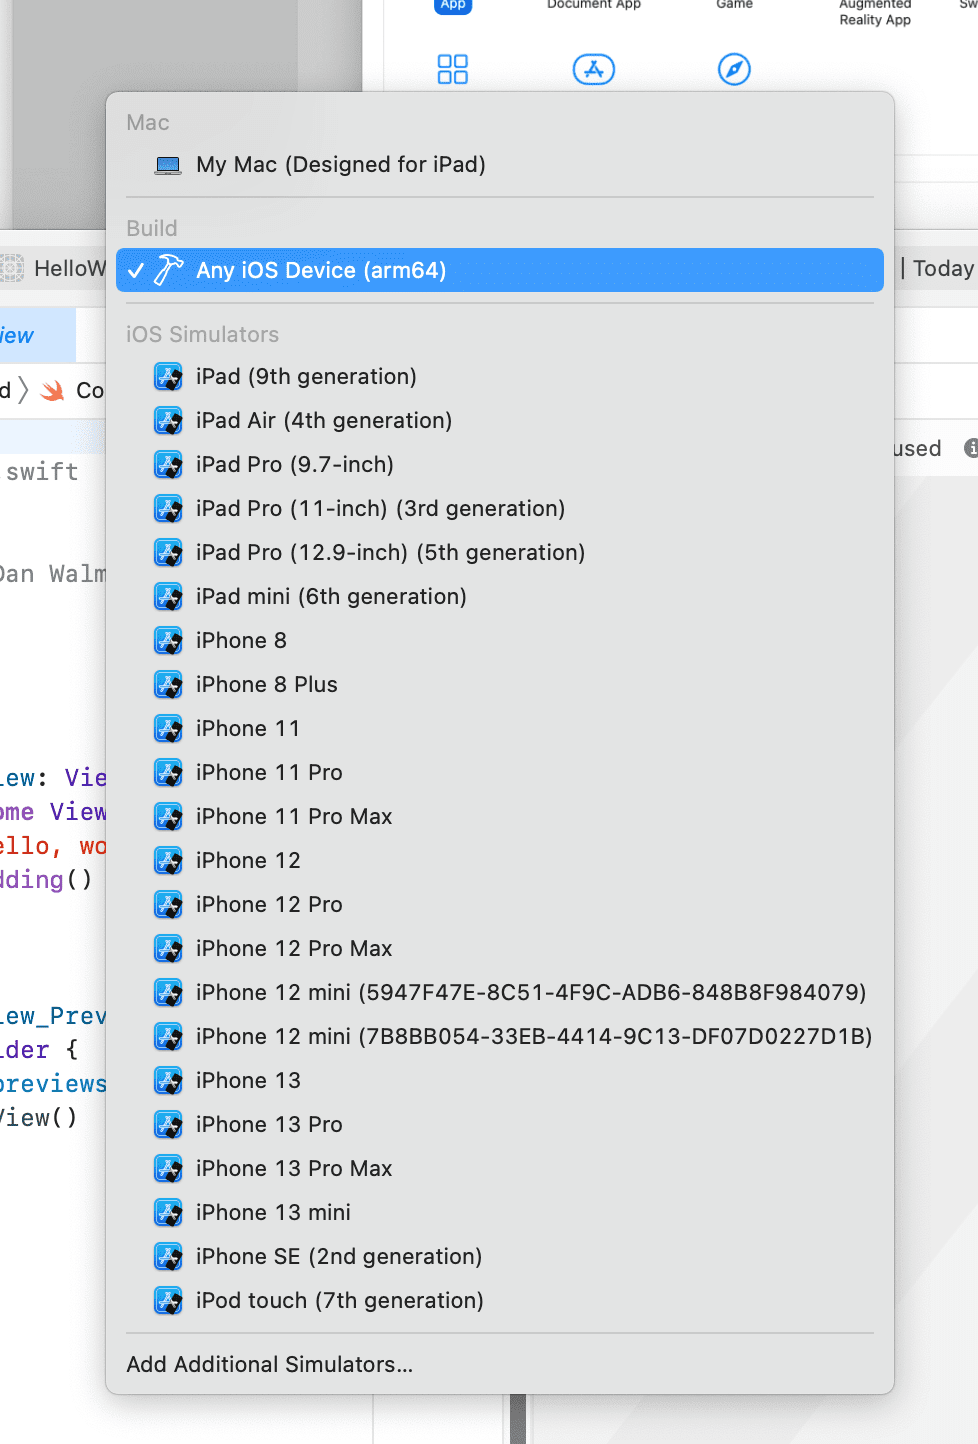
In the status bar at the top click on the "Any device (arm64)"

- At the bottom of the list click "Add Additional Simulators..."
- Click on devices and connect your iPhone or iPad with the USB cable. Xcode will start to provision your phone for development.

- Select you iPhone or iPad from the device list.

- Click the play button and the app will be installed and run on your phone.
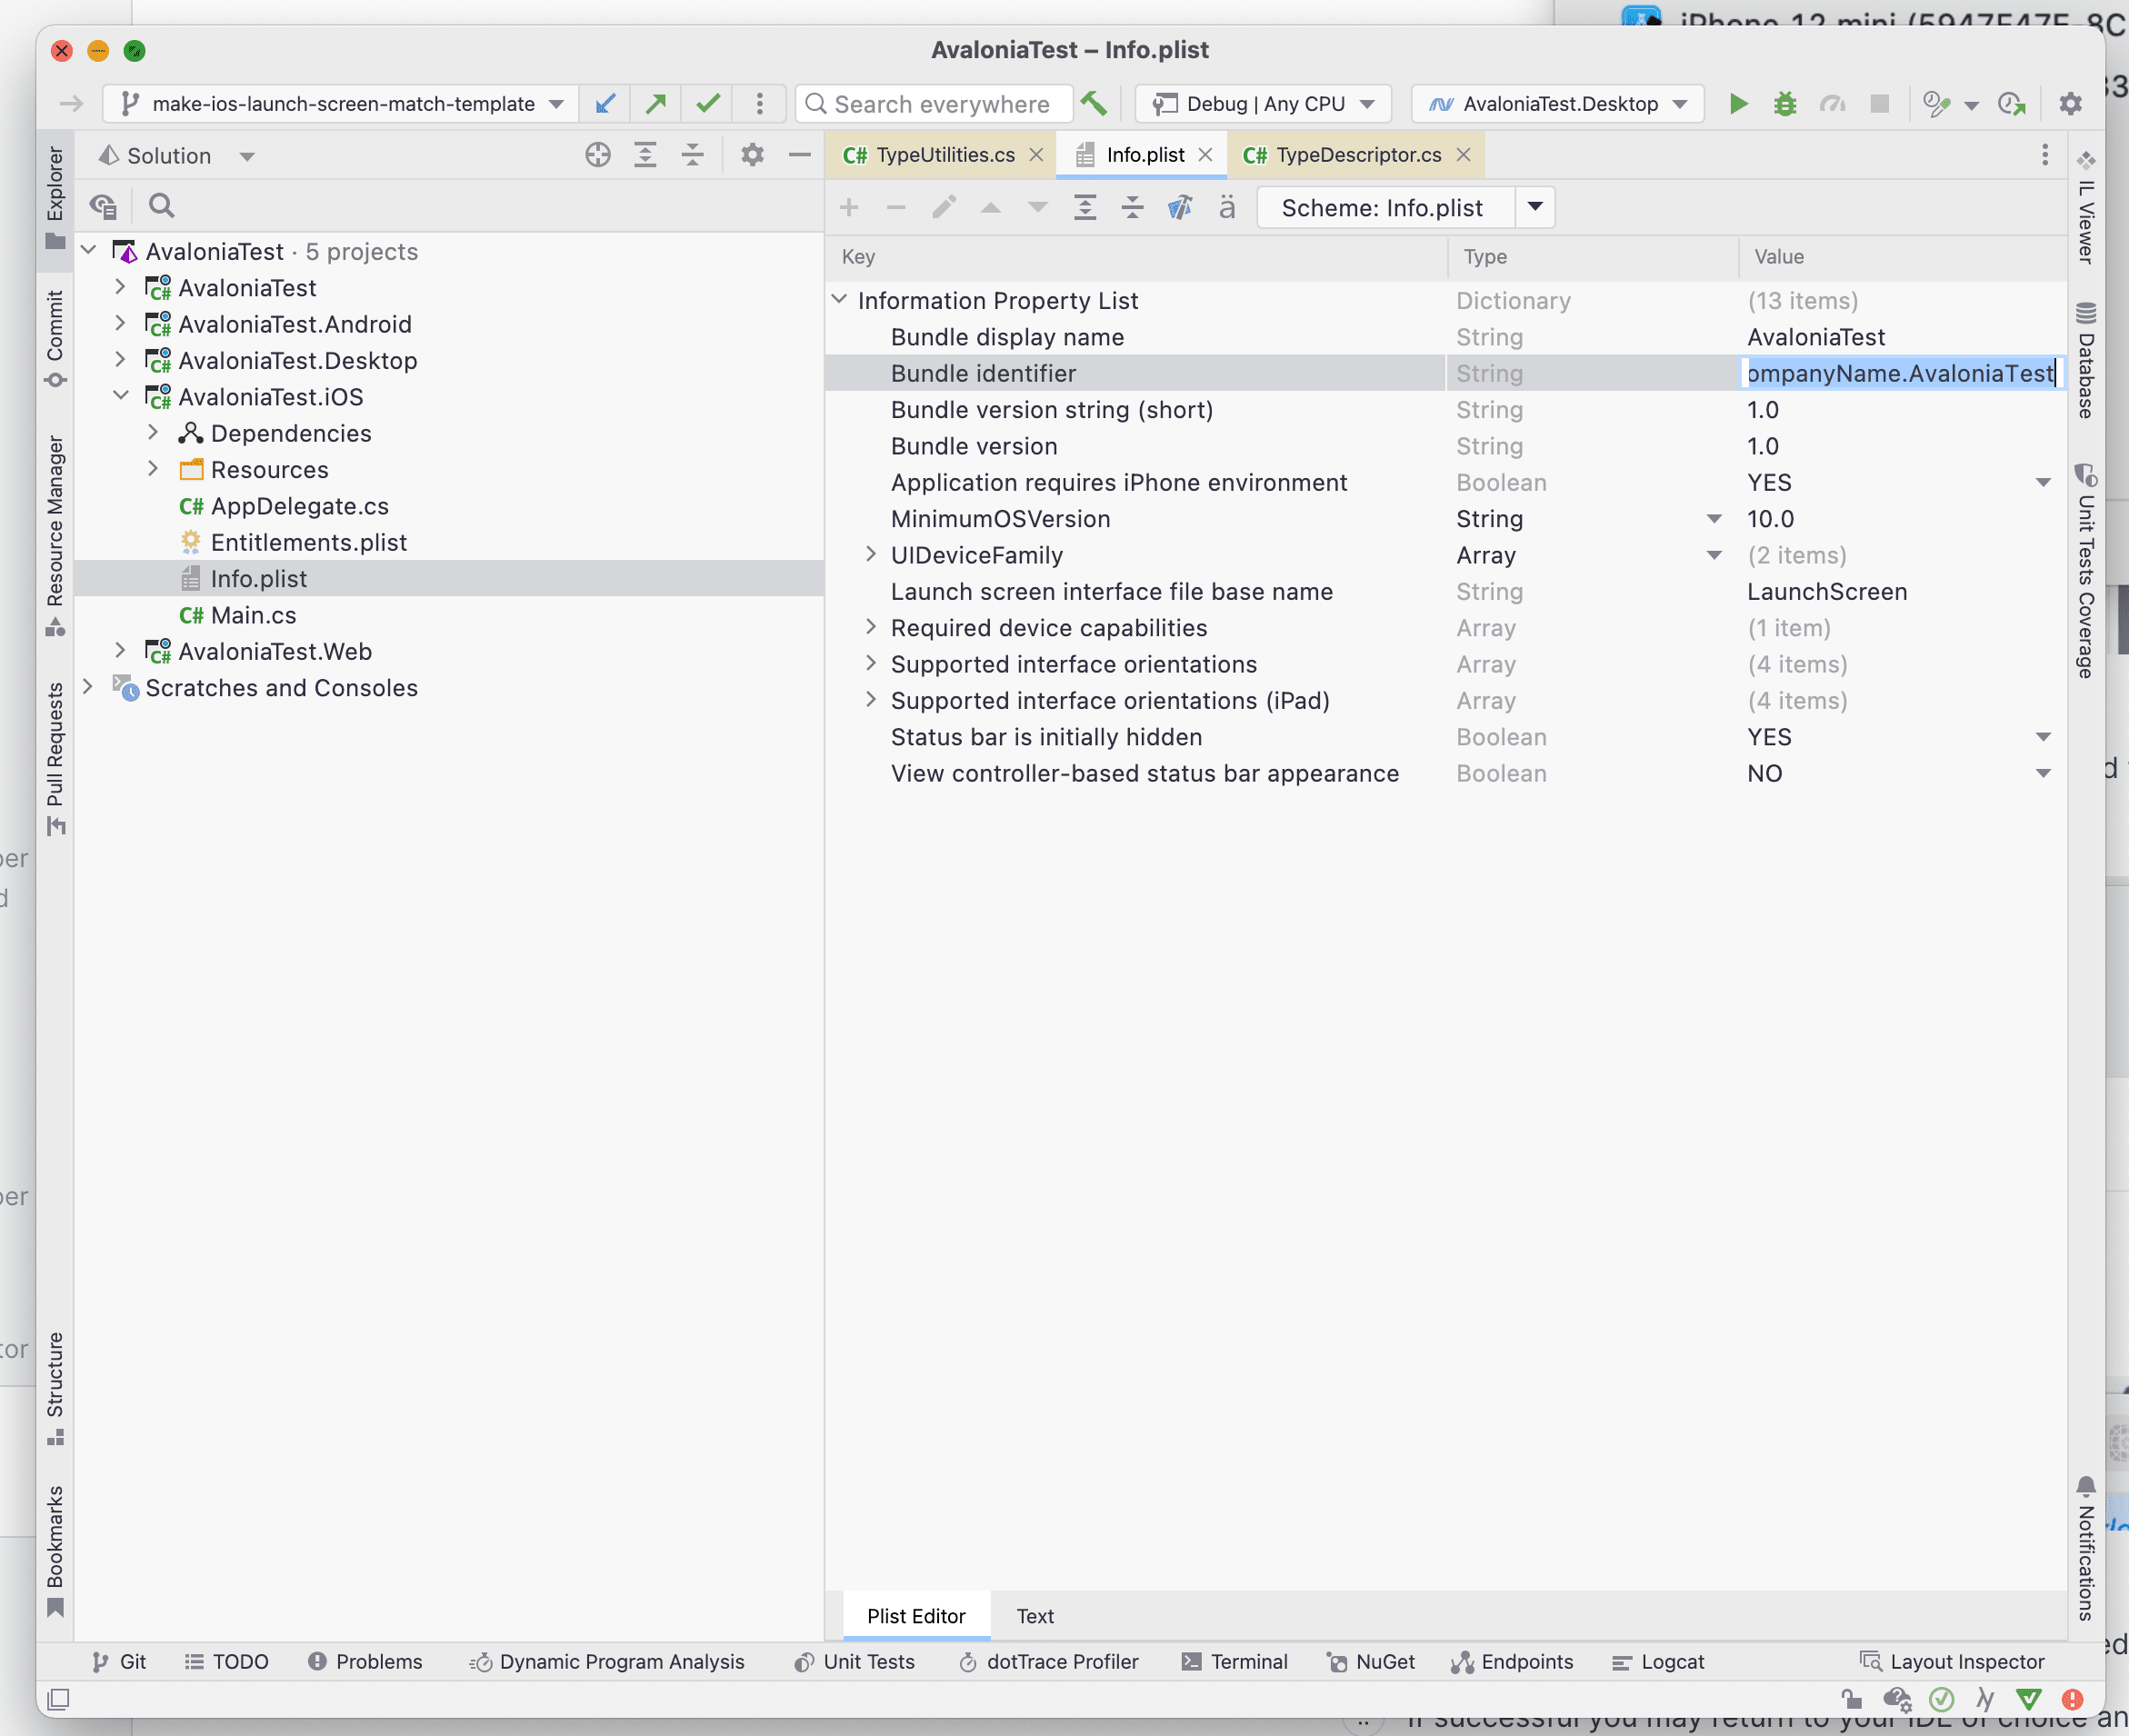
If successful you may return to your IDE of choice and open the info.plist file from the iOS project.
- Change the bundle identifier to the same as the one you choose in Xcode in step 3.
- Now edit the
.iOS.csprojfile.
<RuntimeIdentifier>ios-arm64</RuntimeIdentifier>
<CodesignKey>Apple Development: [email protected] (3L323F7VSS)</CodesignKey>
Change the RuntimeIdentifier from iossimulator-x64 to ios-arm64
You will need to reverse this step if you wish to run in the simulator in future.
Add a <CodesignKey> tag.
To find the value for this open the application KeyChain Access. In the search box search for development.
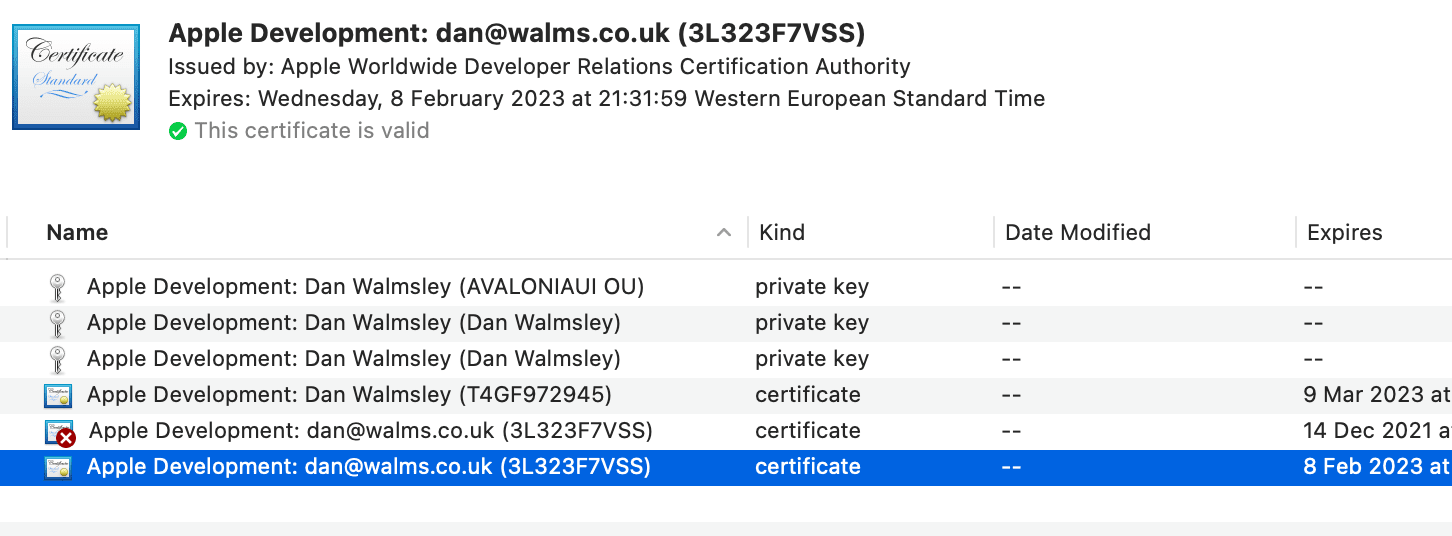
Set the value exactly as the bold text at the top of the window on your selected development certificate.
Apple Development: [email protected] (3L323F7VSS) in this case.
After this you can run and debug your application on the iPhone or iPad.
Running your app on an iOS simulator
Assuming you have created a project called HelloWorld. Enter the directory HelloWorld.iOS from the command line.
To build the project for iOS run the following command.
dotnet build
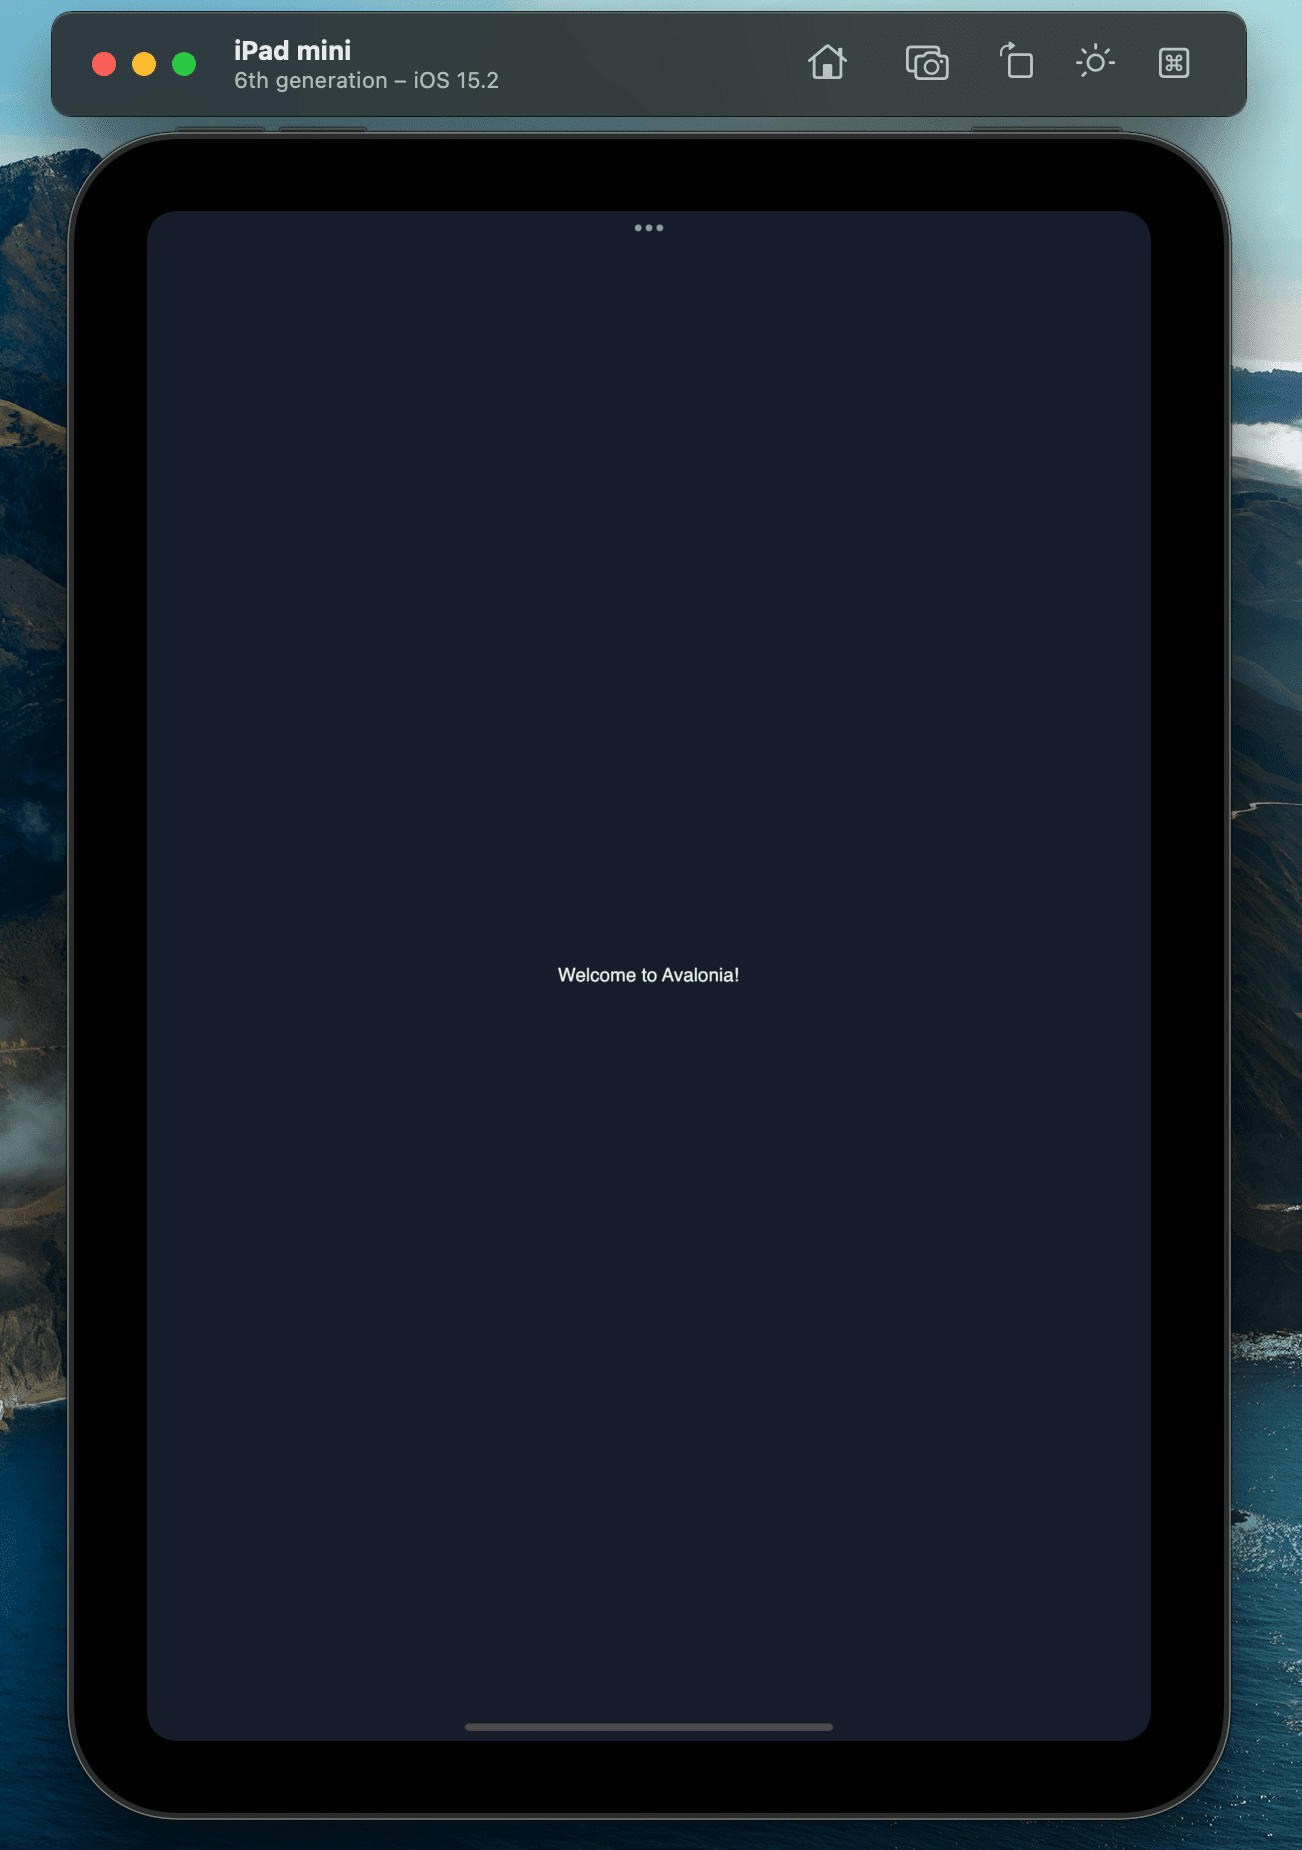
To run the project in a simulator, run the following command.
dotnet run
If you use JetBrains Rider or Visual Studio for Mac you can open the solution and run, build and debug your program inside the simulator.
Dependent on the .NET version and the iOS Simulator version it may require Rosetta 2 to be installed on Apple Silicon Macs. To install Rosetta 2, you can use the following command in the terminal:
/usr/sbin/softwareupdate --install-rosetta
Have questions or feedback? Join the conversation below.